New Year

Year in Review: 2016

Happy New Year guys! I know January 1st is just another day but the new year always feels like a fresh start to me. 2016 was full of ups and downs but yet I am very fortunate that my downs were not all that terrible. I went into 2016 excited and ready to tackle anything that came my way. This year I would say instead of excited, I am aware. 2016 was the best year I’ve had creatively. I was on the Becky Higgins Project Life creative team and did a guest post on her blog, I was invited to appear on Jess Forster’s podcast, Pocket Talk, and I was asked to teach a class at Big Picture Classes. I also made it into the Kellie Stamps and Color Cast design teams. I never would have imagined I would have all these opportunities, much less all in one year. Tomorrow, January 3rd, will be The Lovely Pear’s two year anniversary. That alone means so much to me, being able to continue my little blog that could. I have put in so much thought and hard work into this blog and it’s been worth it to me because of all the friendships I have formed on social media with my fellow creatives!

I’m not participating in Ali Edward’s One Little Word, not because I don’t want to (believe me the want is there!), but if I was, my word would be “Freedom”. Maybe listening to a lot of George Michael has inspired this word, but I would choose it because this year I plan to free myself from any negativity. 2016 was one of my most stressful years, mainly because I let myself become influenced by negative people and negative thoughts. I even confided to my mom that I had been feeling very negative towards people and about life in general. I knew I had no reason to be/think that way and I was missing that happy-go-lucky side of me. Even though this was a rough year mentally, it really taught me a lot. I may be in my thirties but I feel like I’m still trying to figure it all out. It all boiled down to knowing and appreciating the positive people I have in my life. My family and my real friends, people who care about me and are genuinely happy for me.

DCIM101GOPROG0151857.

Ok, it’s getting pretty deep up in here but I think you guys know what I mean and I’m sure many of you have been there.

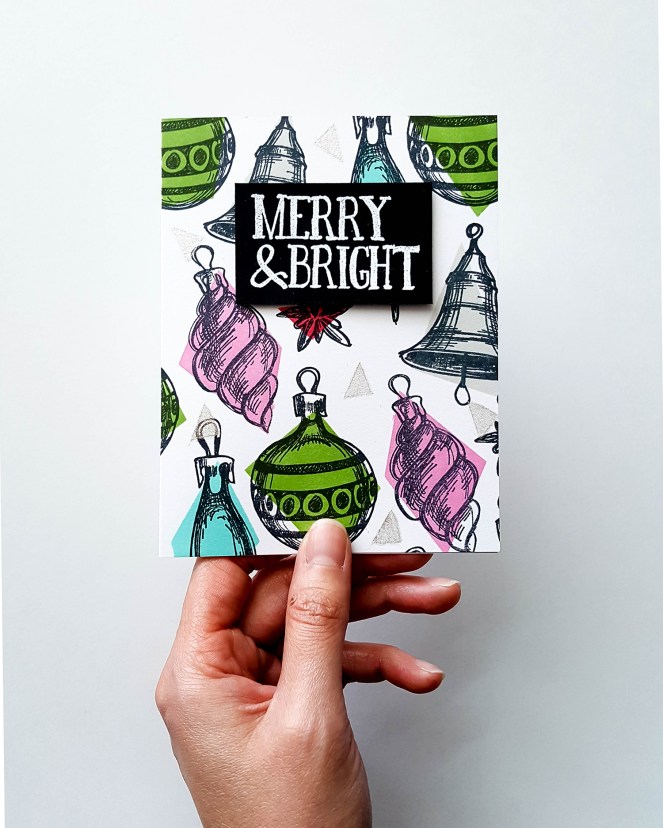
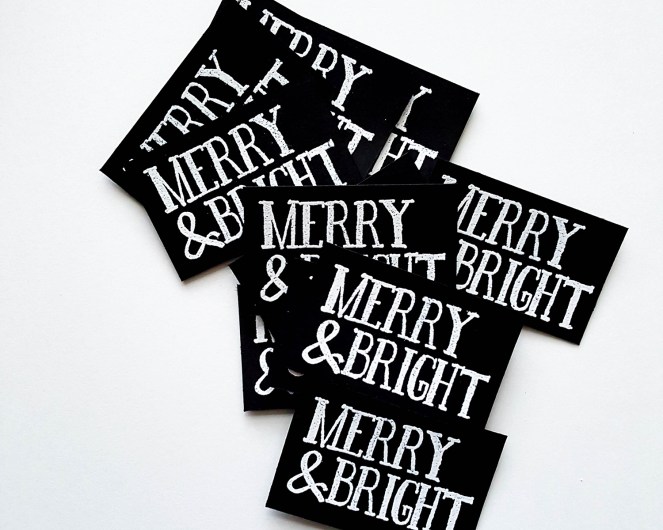
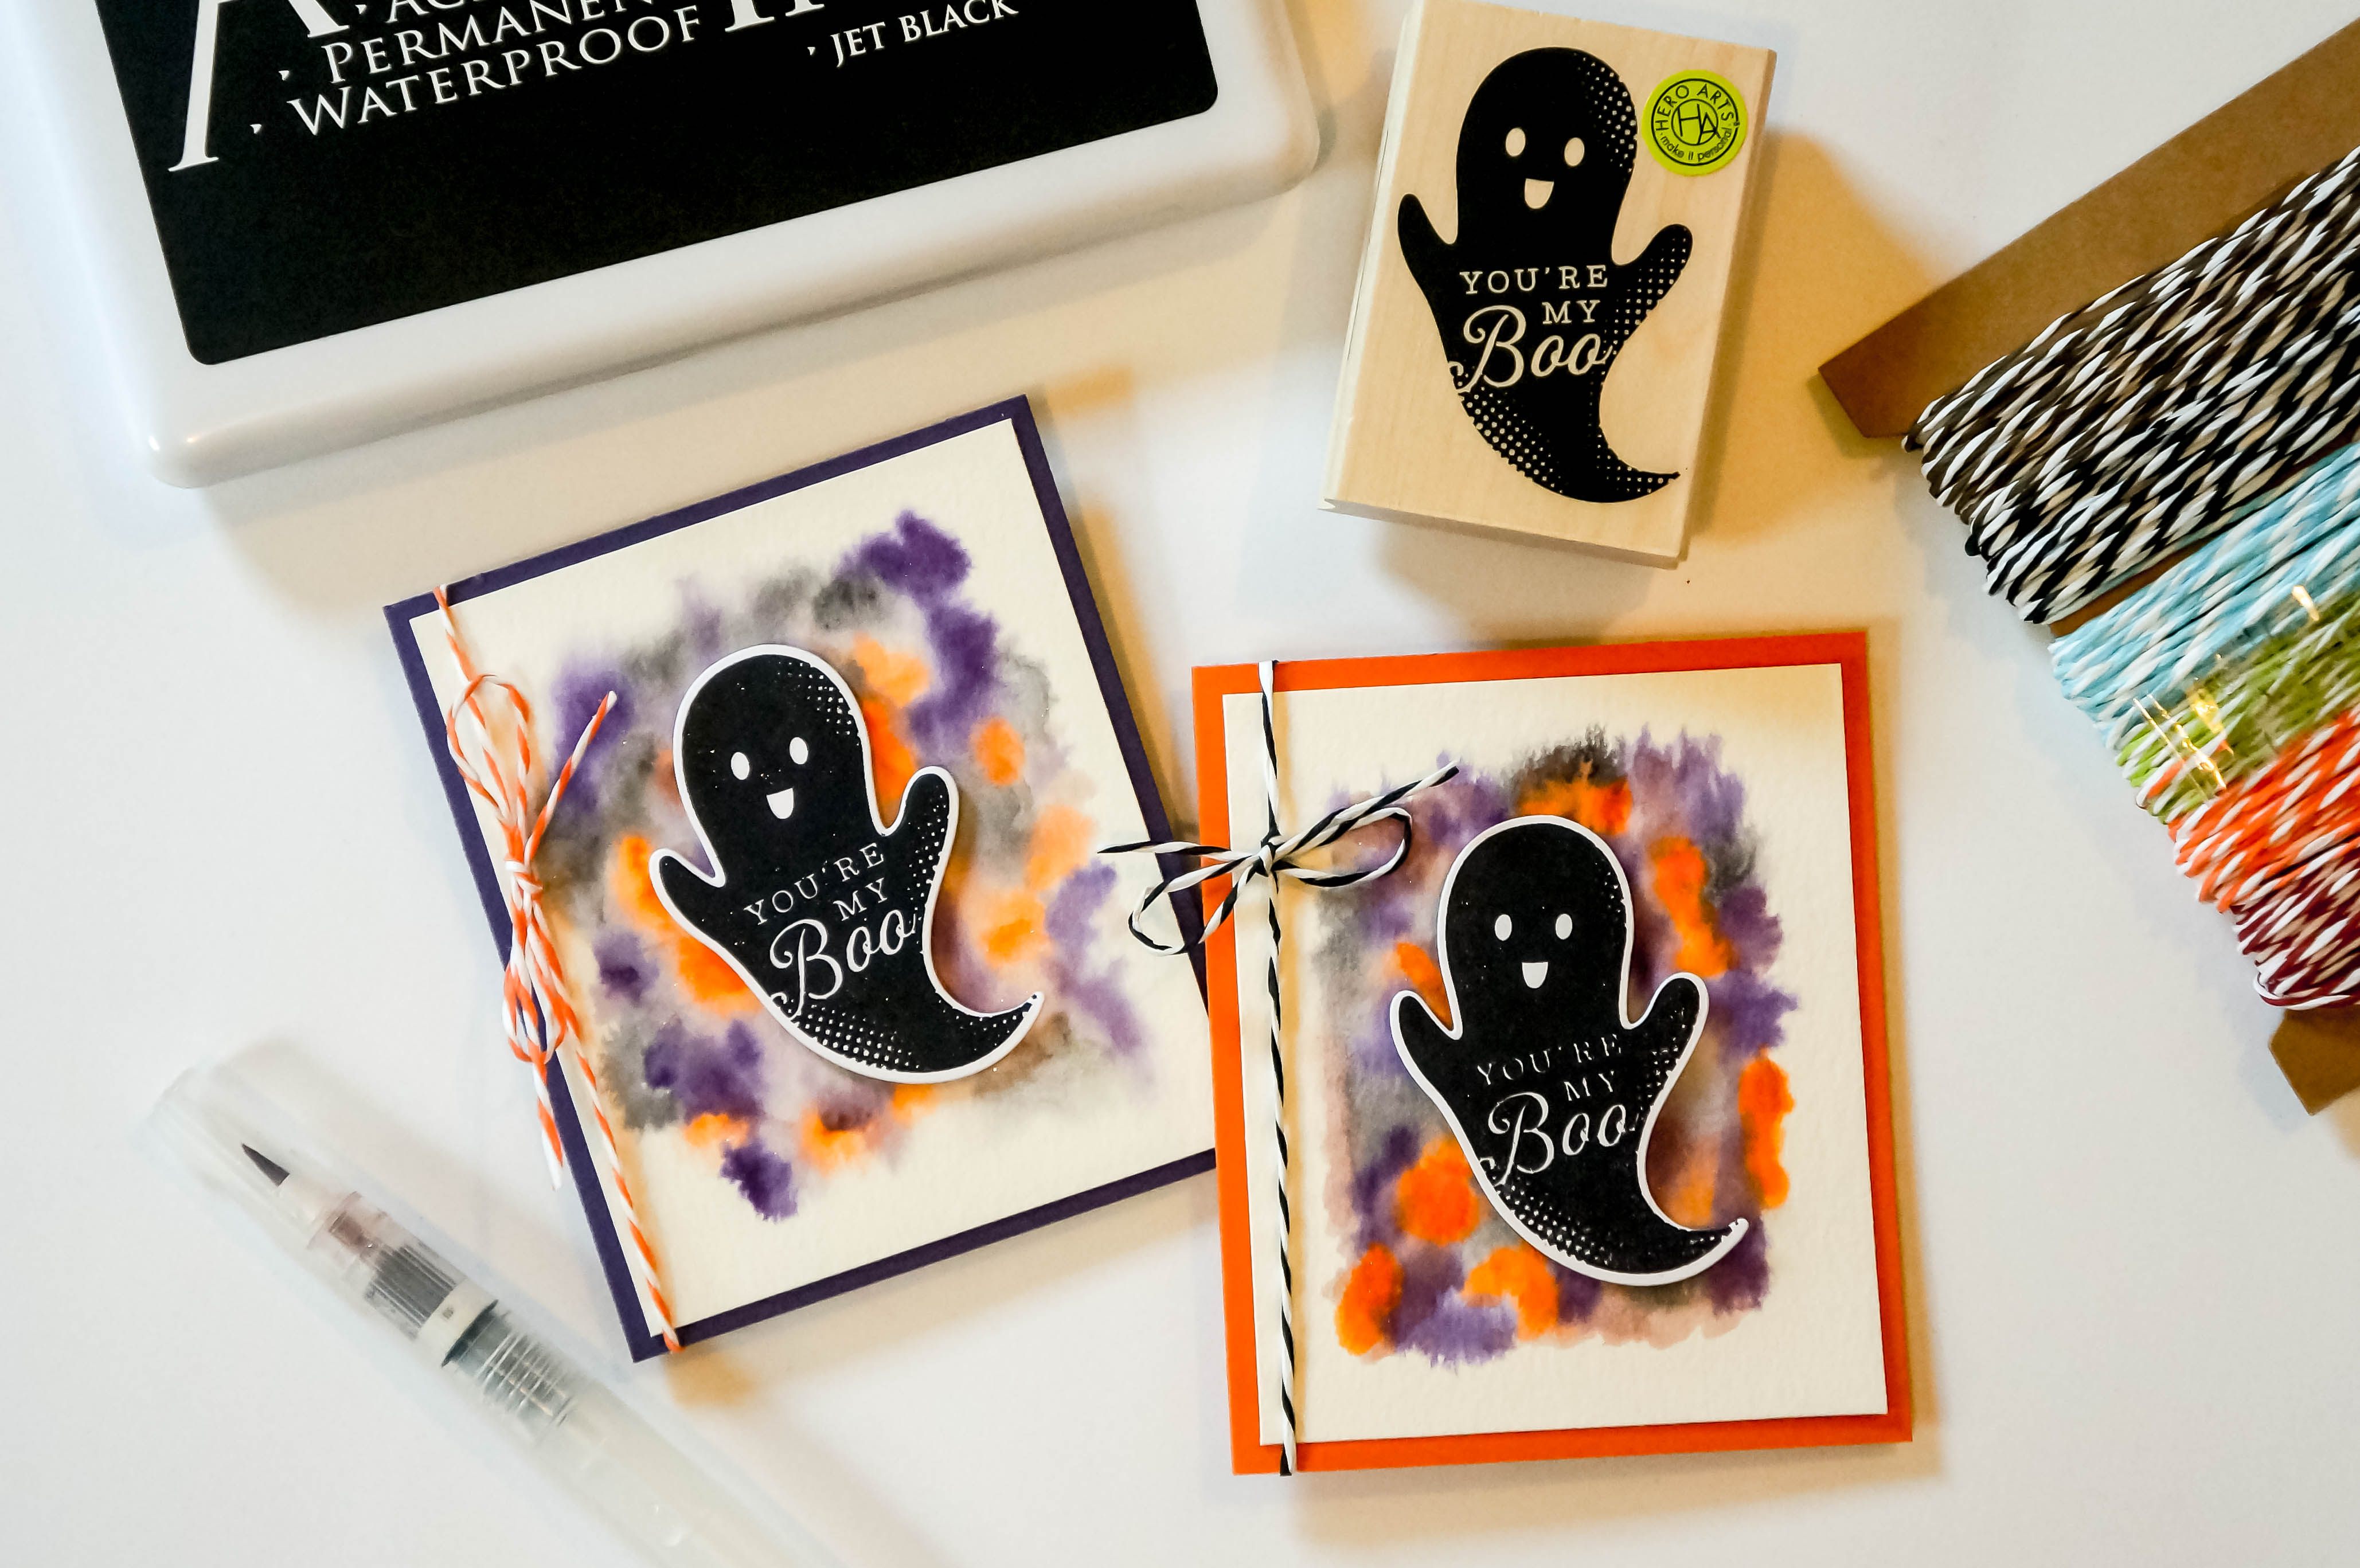
So on to a more happy topic, I want to (re)share some of my favorite projects from 2016.

I’ve put a lot of thought into how I want to do my documenting for 2017 and I have decided to do a 9×12 Project Life album with monthly spreads and continue doing an “all about me” mini album.

At the end of my Year in Review: 2015 blog post, I shared my favorite picture that I took that year and I thought I’d do the same again for this post.

DCIM101GOPROG0171898.

So instead of Freedom 90, this is Freedom 17. I hope I have another great creative year and a much more positive one and I wish the same for you! Thank you from the bottom of this Texas gal’s heart for taking the time to visit this blog and reading my posts!

Here’s to 2017!

Card Making

2016 Christmas Cards: Merry & Bright

I just love this time of year, the smell of the Christmas tree, listening to nothing but Christmas music, and the feeling of jealousy of the people attending Ellen’s Twelve Days of Giveaways. Ahh… I just love it!  And of course the rush to get Christmas cards made and sent, because we all know I like to wait until the last minute to do anything. It’s been a good while since I made a card but I really wanted to make Christmas cards this year. I made some last year but because we started packing our house up, they quickly fell to the bottom of my to-do list. Hopefully I get around to posting about those soon, emphasis on “hopefully”.

merry-bright-5

This year I decided to use the Festive Sketch stamp set from the Tim Holtz Collection. I stamped a pattern of ornaments all over the front with my MISTI. Aligning the stamps like the photo below helped me stamp my cards very quickly.

merry-bright-4

I used Post It tape to make some funky shapes over the ornaments and colored them in using my blending foam tool and some Papertrey Ink. The colors I decided to use are Soft Stone, Hibiscus Burst, New Leaf, Hawaiian Shores, and Pure Poppy. I love this color combo now but I was very hesitant at first because I am not a big fan of pink (but I love flamingos and pink lipstick?). If it were up to me, all my cards and layouts would be black and white, BUT I’m very happy with the pops of colors on this card.

I did the same thing, but in smaller triangles, with a Wink of Stella brush in clear.

20161204_150147

For my sentiment, I used PTI True Black paper, SSS white embossing ink, and Versamark Watermark Stamp Pad. It’s been such a long time that I’ve embossed anything, it warmed my heart and almost burned my fingers.

I adhered the sentiments with Scotch Permanent Mounting Squares.

merry-bright-1

The inside of my card was stamped using Memento Tuxedo Black and my Martha Stewart clear stamp mount.

merry-bright-2

This card was VERY simple to make, just how I like it! I made a total of fifteen cards and now all I have to do is get them in the mail, which I WILL DO this week!

merry-bright-3

Love, love, love this year’s Christmas cards and I hope you do to!

On a side note, I decided to partake in the December Daily festivities and I cannot wait to show you what I’ve done so far!

Stamps Used: Tim Holtz Festive Sketch

Supplies Used: Martha Stewart Stamp Mount, MISTI, Ranger Blending Tool, SSS White Embossing Powder, Wink of Stella Clear Marker, Versamark Watermark Ink Pad

Paper Used: PTI True Black, PTI White Card Set

Ink Used: PTI Pure Poppy, PTI Hawaiian Shores, PTI New Leaf, PTI Hibiscus Burst, PTI Soft Stone, Memento Tuxedo Black

Card Making

Joyeux Anniversaire!

Bonjour everyone! Today I am sharing a new card I made for a friend. She wanted to give this card to her grandmother for her 96th birthday. I decided to do some watercoloring for this card because I had so much fun with my Halloween cards, but I wanted to try a difference technique.

My friend wanted the card to say “Happy Birthday” in french along with her name. I thought this might be a little hard since I don’t own any stamp sets that have french sentiments but I was able to download a pretty font and I just printed it out instead.DSC03208

I used Mama Elephant’s Freestyle Florals stamp set and made a pattern on Canson watercolor paper. I stamped the flowers and leaves with my Versamark Emboss Ink Pad and used clear embossing powder from Simon Says Stamp.
DSC03211

For the colors, I used my Peerless “Complete Edition” and “Pretty in Pink” watercolor sets.

I was very happy with how the flowers popped once I colored in the background in blue. I also love the way the watercoloring looked once it was completely dry. I highly recommend getting Peerless watercolors if watercoloring is something you’re interested in but don’t want to spend too much money on because you are a beginner.

I hope my friend’s grandmother had a great birthday and enjoyed the card and I hope you guys enjoyed it as well! Au revoir!

Items used:
Stamps: Mama Elephant Freestyle Florals
Ink: Tsukineko Versamark Emboss Ink Pad
Paper: Canson Watercolor Paper, Papertrey Ink White Card Set, Papertrey Ink Summer Sunrise Cardstock
Other: Simon Says Stamp Clear Embossing PowderPeerless Watercolors, Peerless Watercolors Pretty in PinkRanger Water Brush

Card Making

You’re My Boo

Hello again, I’m back with some Halloween cards! I know it’s been awhile but with the holidays coming up, I was ready to get back into making cards. This is actually the first time I made Halloween cards. I ordered the You’re My Boo stamp and die set from Hero Arts because I fell in love with the ghost and the sentiment.

I knew I wanted to do a watercolor background for my card, so I looked on YouTube for a good tutorial because I still need help on using my watercolors. I found this technique from Maureen Wong, which you can watch here. It was so easy to do and I love how it came out. I used my Peerless watercolors and Ranger Water Brush.
DSC03202

After the background dried, I went over little random patches with my clear Wink of Stella marker. I also used the marker to go over the ghost after I die-cut it.DSC03205

To finish it off, I tied some Tim Holtz Paper String around the card. Very fast and very simple to do!

I love how the cards came out and I’m ready to start working on my Christmas cards! See you guys next time!

Items used:
Stamps: Hero Arts You’re My Boo
Ink: Ranger Jet Black Archival Ink
Die: Hero Arts You’re My Boo
Paper: Papertrey Ink Cardstock in Royal Velvet and Orange Zest
Other: Canson Watercolor PaperPeerless WatercolorsRanger Water Brush, Clear Wink of StellaTim Holtz Paper String

Card Making

Thanks Teacher

Hello everyone! Teacher appreciation week is fast approaching and I wanted to make a thank you card with my new Paper Smooches stamp set, Smarty Pants. I’m also submitting this in Paper Smooches SPARKS Anything Goes Challenge for week 3.30e9e-sparksbadgeSome of you might remember the black negative paper I had left over from my card “A Sassy Thanks”. I still had it lying around in my craft room and thought it would make a cute background for a card. I knew I wanted to use red and yellow paper for this card but I went back and forth with different colors for my tag and then I thought what better paper to use, than a regular wide ruled paper from AJ’s binder? I put it over white cardstock so it wouldn’t be so flimsy.
Thanks Teacher 2This is my first tag die and I love it, I wish I would’ve ordered this sooner. I finished it off with twine and colored in the apple and books with Copics.
Thanks Teacher 1I can’t wait to give this to AJ’s teachers (I need to make another one), I hope they love it!

Thanks for checking out today’s post, I hope you guys enjoyed!

Supplies used: