Card Making · Paper Crafts

#HBD

Hi everyone! Today I bring you a card set I made with only one stamp set. Happy Something is the name of this set and it is by Kal Barteski for Studio Calico. I ordered this because I thought it would be a great set to have in case I ever needed to make a quick birthday card. But when I played with the set, I couldn’t stop! I love the font and the “sketchy” look of the cupcakes and candles.

#HBD 10

The first card I made, I used masking tape to cut out the candles because I wanted to put them on top of the cupcakes.#HBD 1

I used my MISTI to stamp on this card. As you can see below, I stamped the candles first, and then put the masking tape candles I cut on top.
#HBD 2

I also used the plastic that came with my Stamp-a-ma-jig to help me align the cupcakes right where I wanted them. I learned this tip from Maureen Wong, she has many YouTube videos that show you different tips and tricks on using the MISTI.#HBD 3

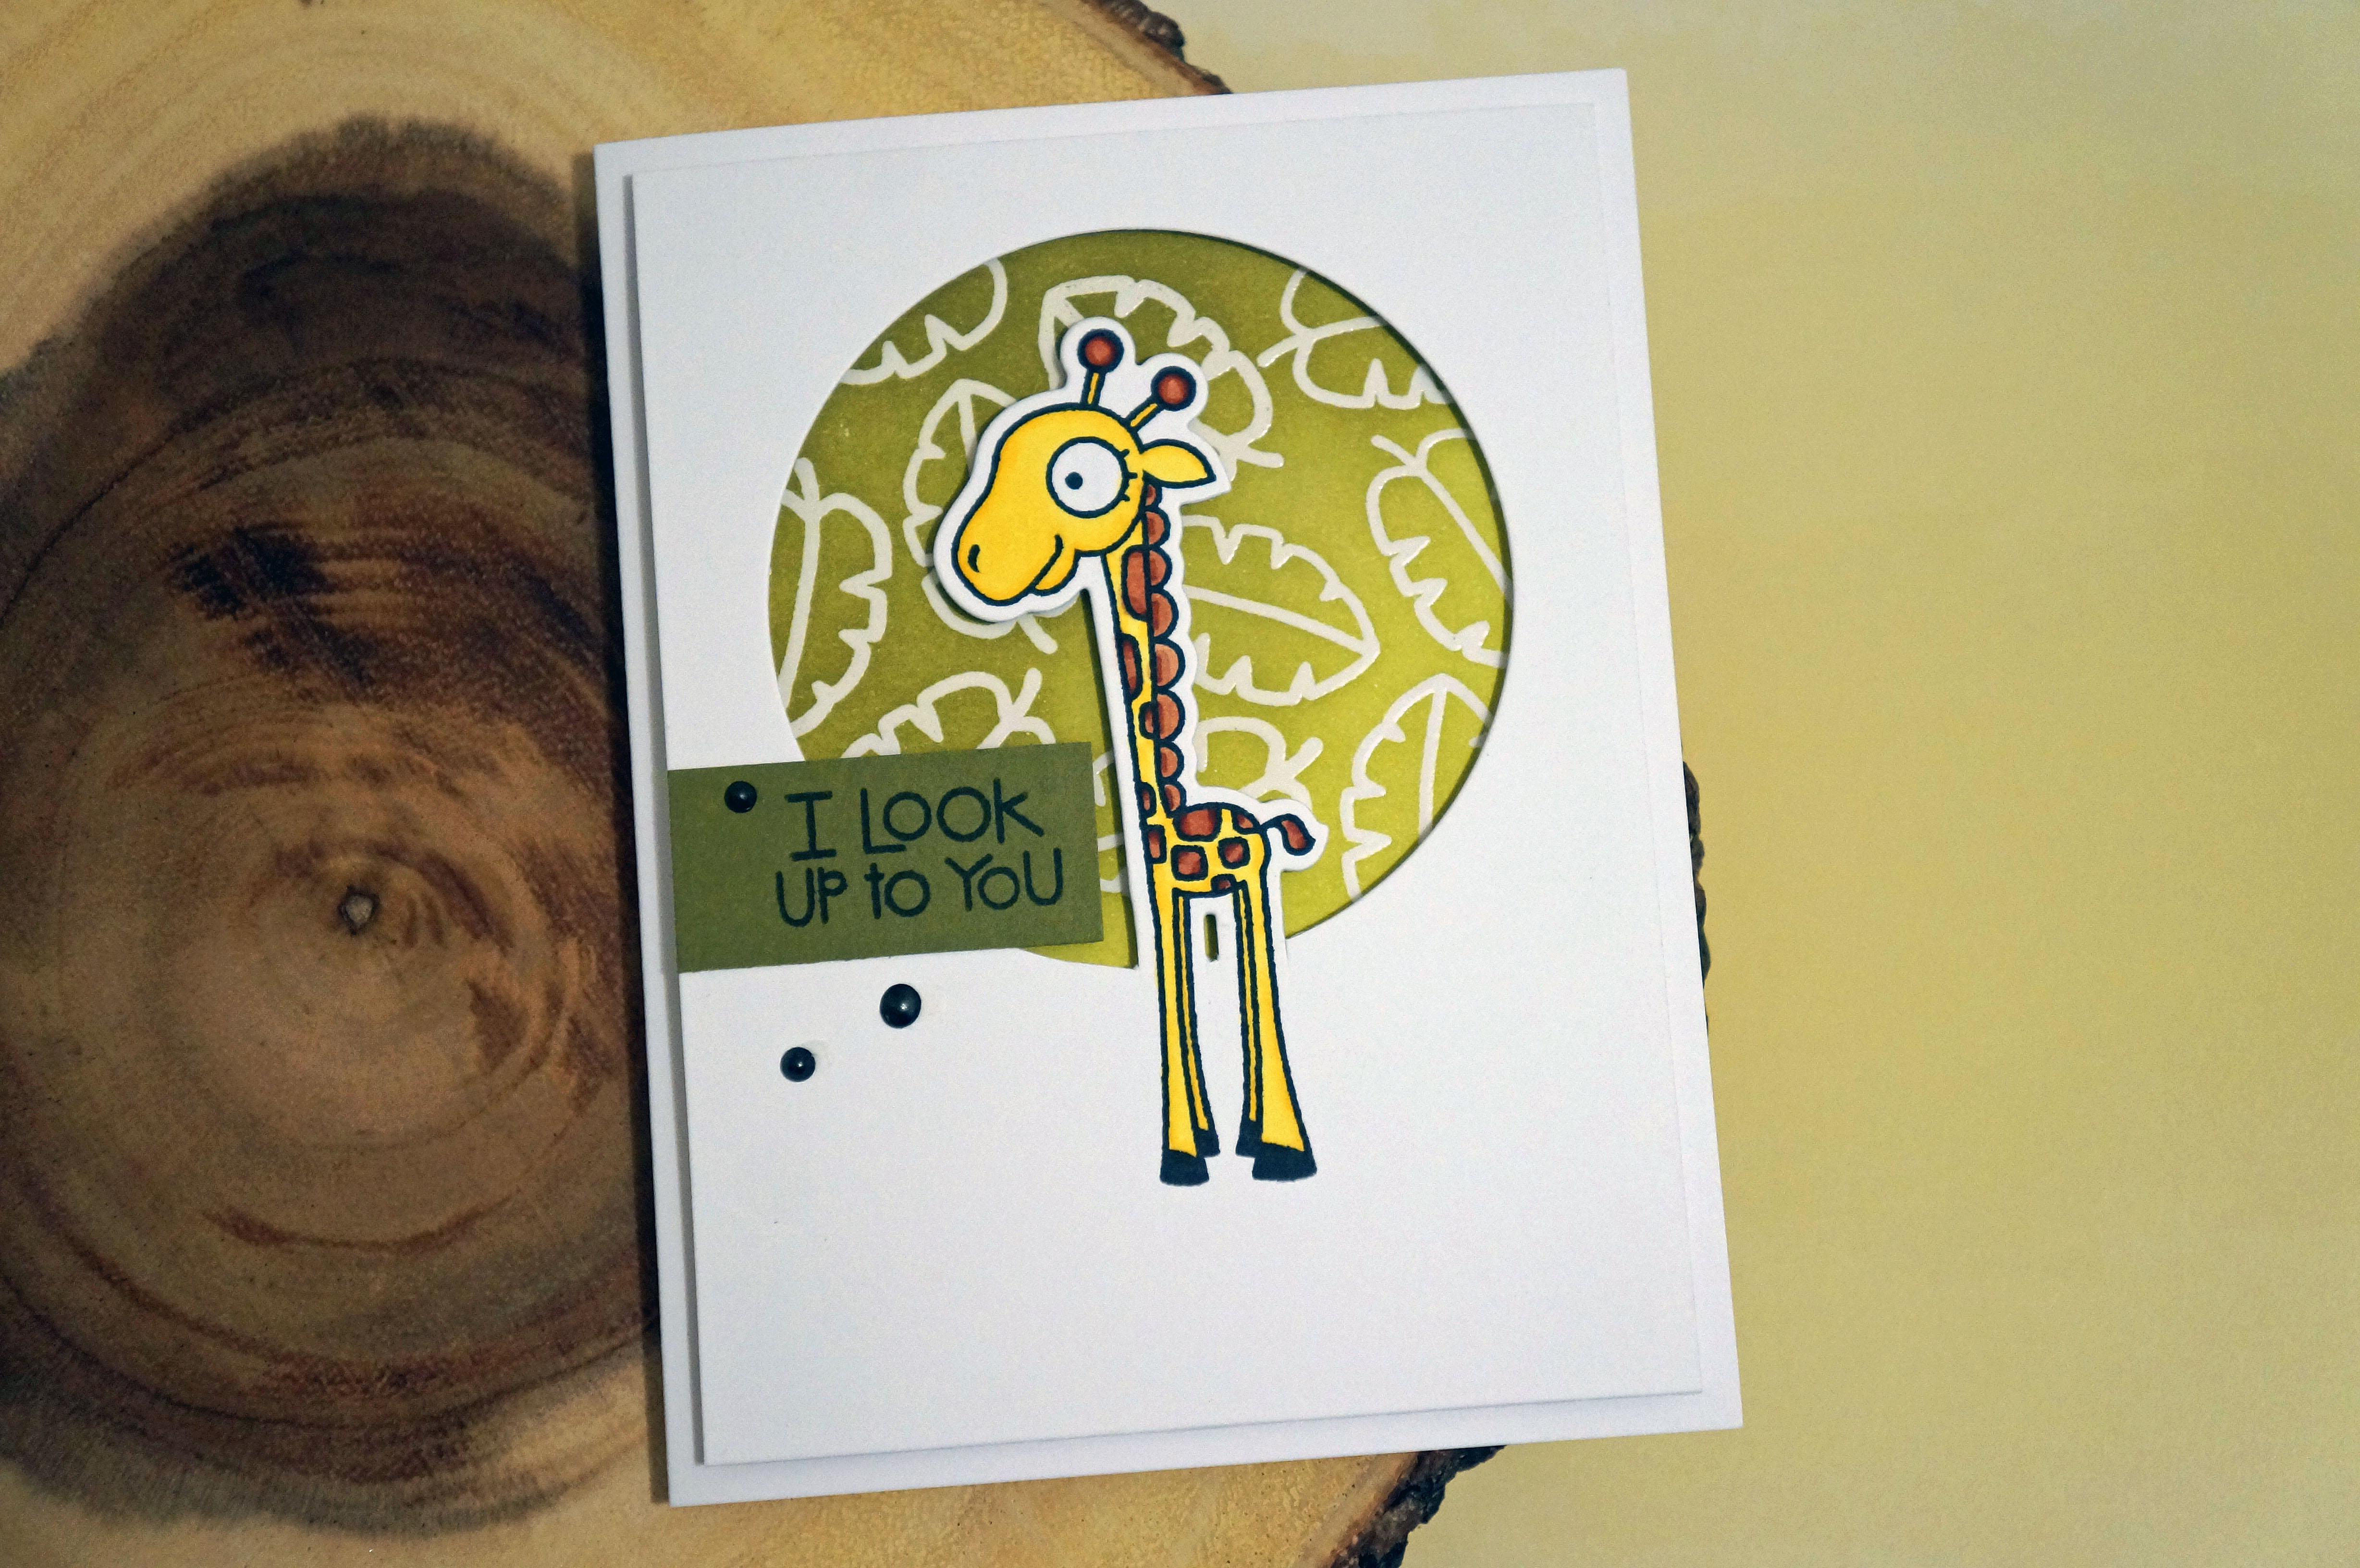
Here is the finished card. The striped background paper is from the September Skies paper pack by Heidi Swapp. When I picked this paper for the background, I grabbed some Copics that matched and colored in the cupcakes.#HBD 4

I loved how the colors came out so I went ahead and used the same Copics for the rest of the set.

#HBD 5 For the next card, I just made a pattern using the four cupcake stamps and colored them in with the Copics. I stamped the sentiment on a piece of Lavender Moon paper from PaperTrey Ink. #HBD 6 For the last card, I used masking tape again to help guide me with the placement of the candles. I stamped the ends of the candle over the tape which didn’t matter because I ended up covering the ends with a piece of Smokey Shadow card stock.#HBD 7 I heat embossed the sentiment with my VersaMark Emboss Ink Pad and Simon Says Stamp Clear Embossing Powder.

#HBD 9
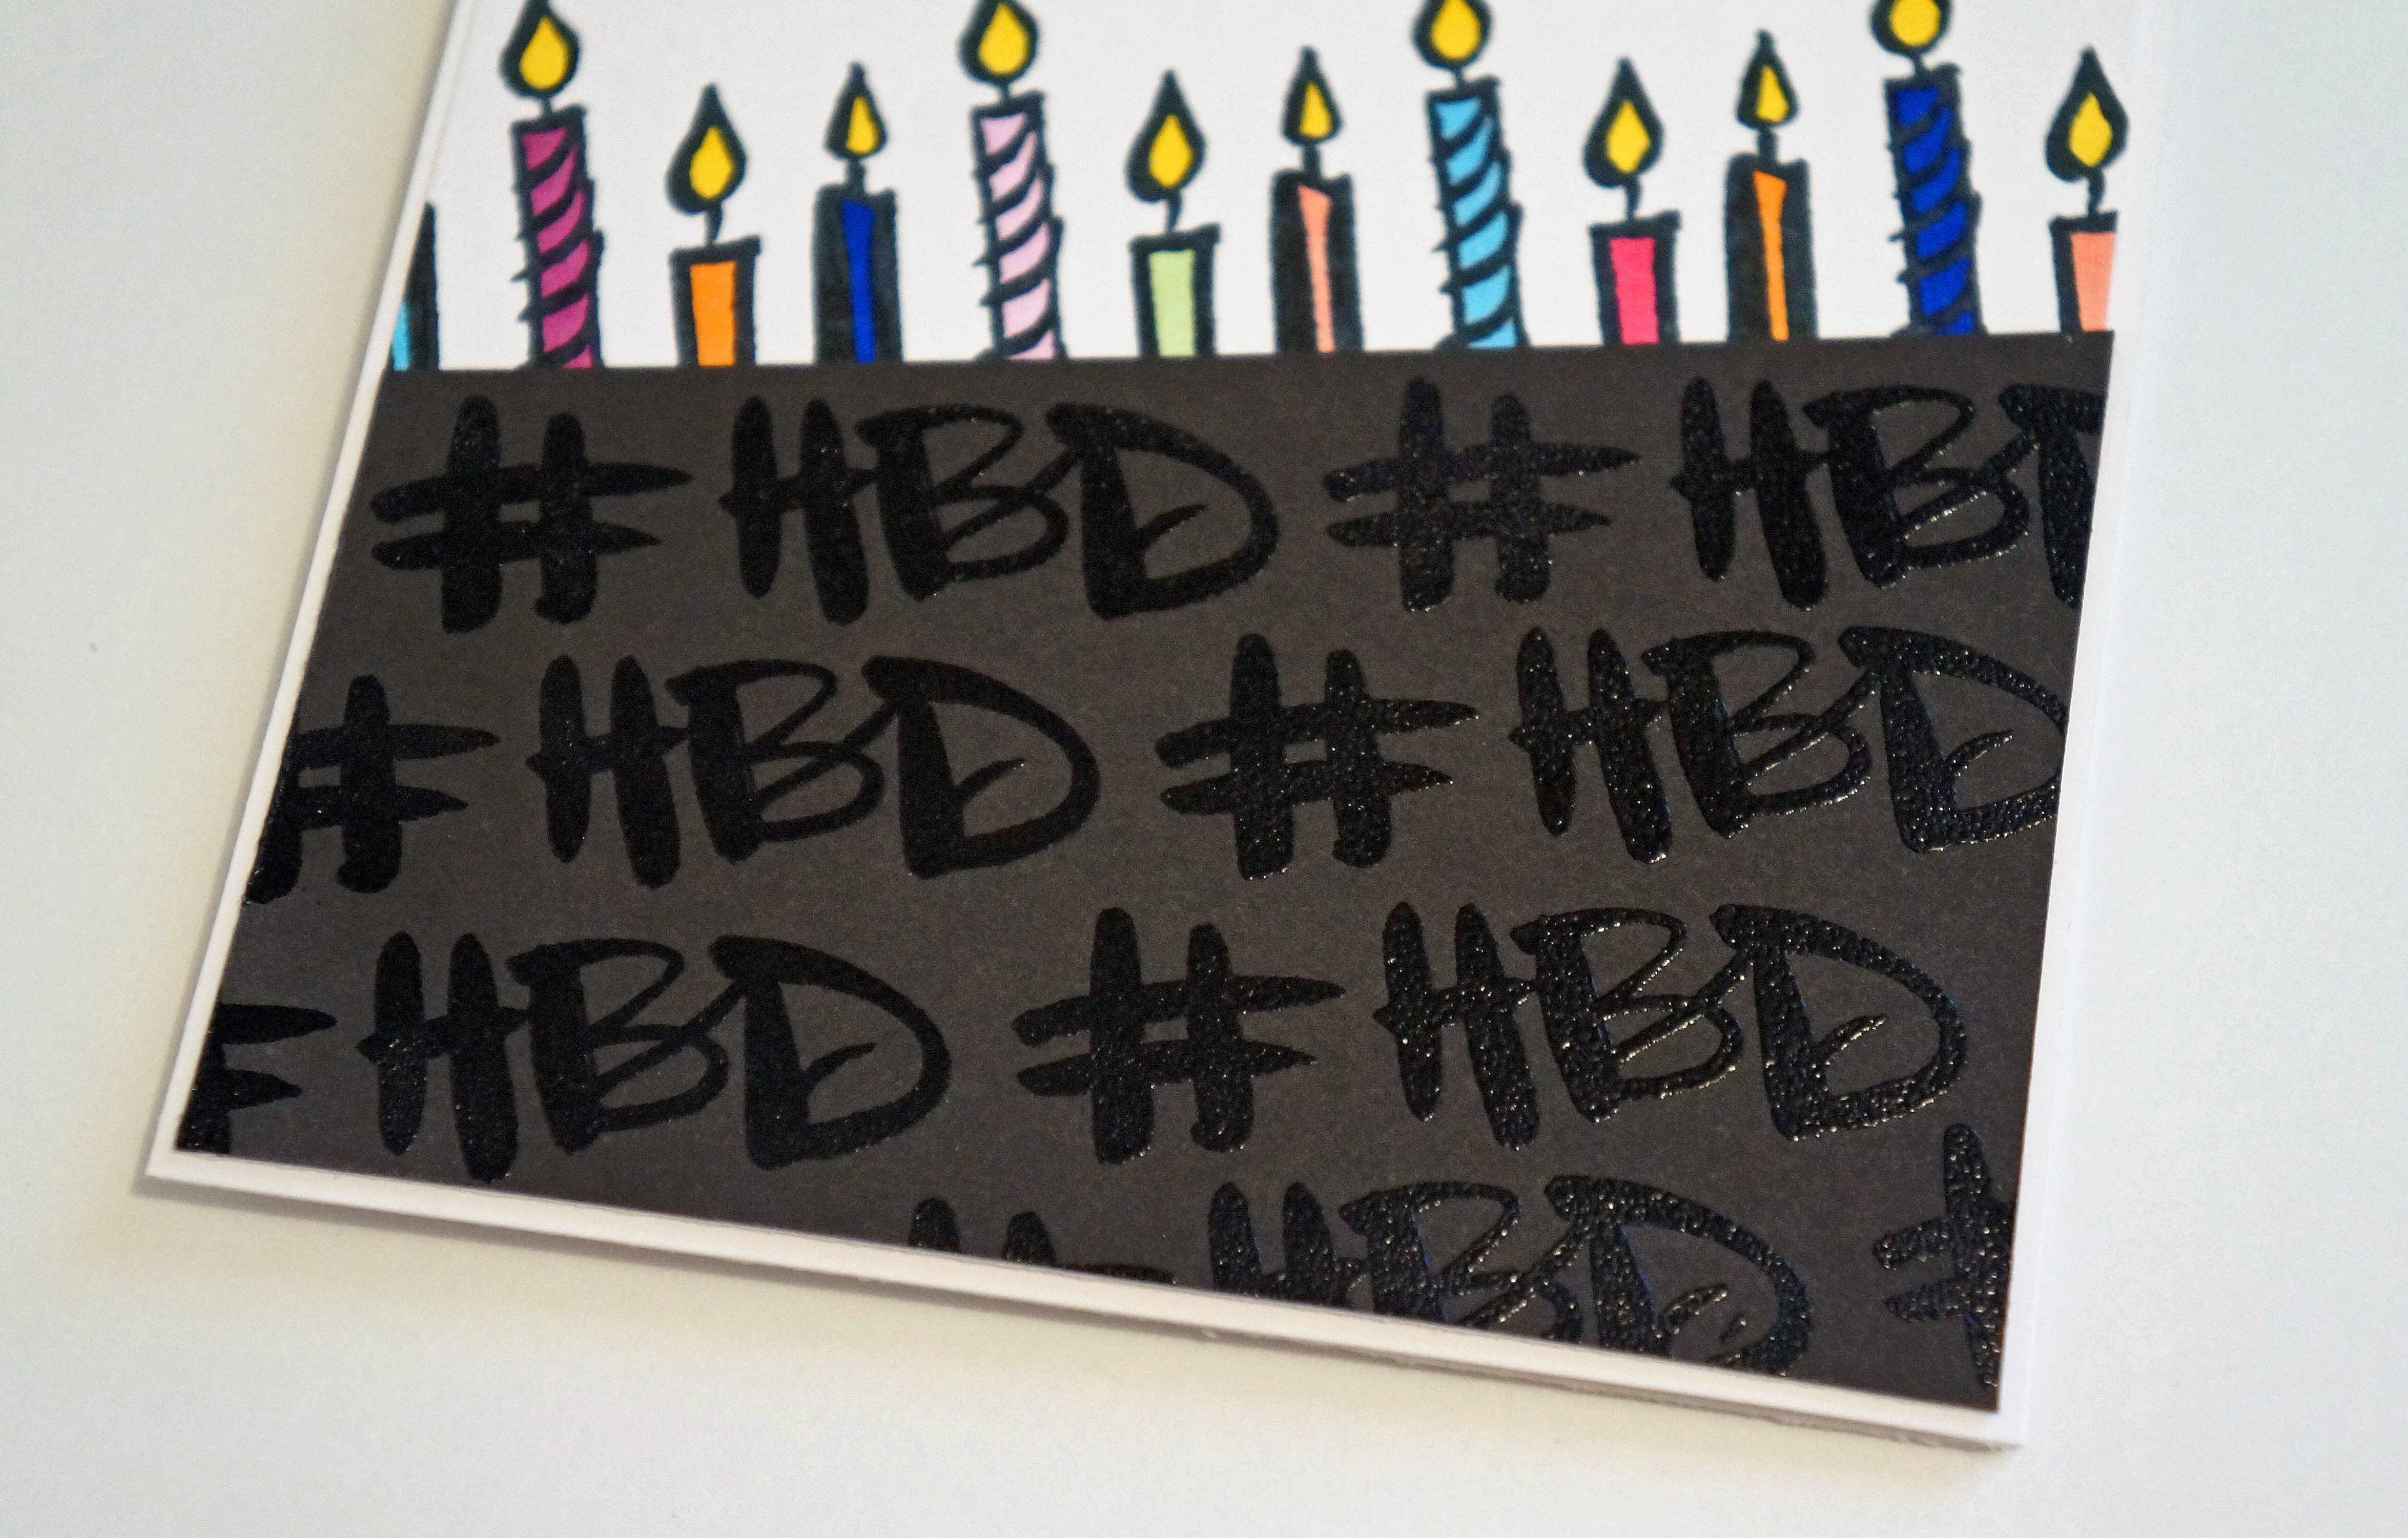
To finish off the card, I colored in the candles with the same Copics.
#HBD 8This set is perfect to have at the office or to give as a gift. I love the fun colors, the graphics, and the sentiments. I really enjoyed making this set and I hope the recipients enjoy them just as much!#HBD 11

Supplies Used:

Card Making · Paper Crafts

I Look Up To You

Hi there! I hope you guys are having a great April so far! It has been a very cloudy and rainy week here in west Texas. But, while I wait for warmer and drier weather, I’m crafting it up in my craft room!

I just recently bought the Zoo Crew stamp set from Paper Smooches and I couldn’t wait to use it because I love how PS designs their critters. I knew I wanted to make a partial die cut with this set once I got it, so of course I needed to get the matching die set. I did the partial die cutting with one of circles from Lawn Fawn’s Circle Stackables die set and the giraffe die.

I Look Up To You 3

For the background, I heat embossed Simon Says Stamp clear embossing powder on white paper. You can see on the picture below how well the embossing powder melts. I really like this embossing powder, it melts so fast, and I never have a problem with my paper warping.I Look Up To You 1

I used Simply Chartreuse, Ripe Avocado, and Limeade Ice from Papertrey Ink with my Ranger blending tool to finish off the background.

I Look Up To You 2The giraffe was colored with Copics (I’m still trying to master those). I used foam adhesive to adhere the top layer over the patterned paper and I stamped the sentiment on Ripe Avocado paper. Because I don’t have any enamal dots, I made my own using Liquid Pearls from Ranger.

I Look Up To You 4

I hope to make more cards soon with the rest of the Zoo Crew critters. I can’t seem to get away from the Paper Smooches website, I’m obsessed and I just want MORE!!!

Anyway, I hope you guys like my card, and please bare with me as I explore all the infinite options of photographing my cards! I’m just having a lot of fun with my camera… and random objects and backgrounds, you get the idea.

Supplies Used:

Additional Supplies:

Marvy Embossing Heat Tool

Card Making · Paper Crafts

We Really Really Miss You

Hello everyone! Can you believe March is almost over? Where is the time going? I just now realized I need to start preparing for my Top 5 for March.

I wanted to share a new card I made using Mama Elephant stamps and dies. I don’t know what I like most out of the three sets I used.

We Really Really Miss You 1

First is the Three Amigos stamp and die set, I mean, how cute are these little amigos? Each amigo actually holds his own little sign.

We Really Really Miss You 3

I decided to change things up and have them holding one big sign, which is the Bold Banner die. This banner is awesome, it is perforated on both ends making it easy to fold. I also used one of dies in the Sew Fancy dies set for the border. This is just one of the dies it comes with, it has another border die, a couple of circle dies, a tag die, and a stitched string die. This set is a must have!!!

We Really Really Miss You 2So now you know why I said I don’t know which set is my favorite! I love the quality of Mama Elephant stamps and they come out with awesome die sets as well. I can’t wait to use them again, I already have some ideas for each set.

I hope you guys have a great rest of the weekend!

Supplies Used:

Additional Supplies:
Me & My Big Ideas Mambi Sheets

Card Making · Paper Crafts

Unforgettable Birthday

Nat King Cole plays in my head anytime I hear the word “unforgettable”, please tell me I’m not the only one!  Great music to listen to while crafting, but anyway… I finally made a card with WPlus9’s Unforgettable stamp set! It has been a little hard to come up with something good because this set is so popular right now and everybody has been making all these great cards with these cute elephants, so it’s a little intimidating. I also wanted to bring out the copics and try to get some more practice on coloring.

Unforgettable Birthday 1

I wanted a blue-ish “watercolor” background so my elephant looked like he was up in the sky. I did it by daubing (<- is that right?) my Aqua Mist ink pad from Papertrey Ink onto my craft mat, spritzing some water on it, and then just placing my piece of cardstock on top of it. I sewed on a couple of velum clouds which are also from WPlus9.

Unforgettable Birthday 2

I’m very happy with how the card came out, I love the pop of yellow and I like how the aqua/yellow/gray combo came out. This set is just too cute to let sit for so long and I’m glad I finally made a card with it!

Well that’s it folks! Please don’t forget to check out The Lovely Pear Facebook page and feel free to share! I want to say thanks again for all the “likes” and all the nice comments I’ve been getting on Instagram, seriously, thank you! I love this community because everybody is so nice and welcoming!

Have a great weekend!

Supplies Used:

Additional Supplies:
Recollections Specialty Paper Translucent

Card Making

Thanks For A Great Year

Hi there! Next week is Spring Break here in west Texas and I’m still wearing my winter jacket… HURRY UP SPRING!!! Since I’ve been spending a lot of time indoors, I figured I might as well get started on some end-of-the-year cards for my son’s teachers. I have had the A Good Apple stamp set from Lawn Fawn since last year and hadn’t used it, that is, until now. And what better timing because Lawnscaping Challenges’ new challenge is Dots & Stripes.

10846038_10205212997070329_2449503124190911958_n

I have Lawn Fawn’s Let’s Polka Petite Paper Pack which was exactly what I needed for this challenge and surprise, surprise, I doodled some more.
Thanks For A Great Year 1

I wanted to keep the cards simple but make each a little different because everything I have made for them has been identical. I used my Copic .05 pen to doodle, and I colored in the leaves of the apples and letters with my Grayish Olive Copic marker. I got a little brave and TRIED to give some of the apples a little bit of a shadow.Thanks For A Great Year 2

I sure hope AJ’s teachers like their cards, lord knows they deserve some goodies! Now that I think about it, I might add some apple scented lotion or a caramel apple!

Hopefully the next time you check my blog I will have a picture of my pear tree blooming, but I doubt it… fingers crossed though!

Supplies Used: